Balanced Price Range
 By LuxAlgoMar 13, 2026
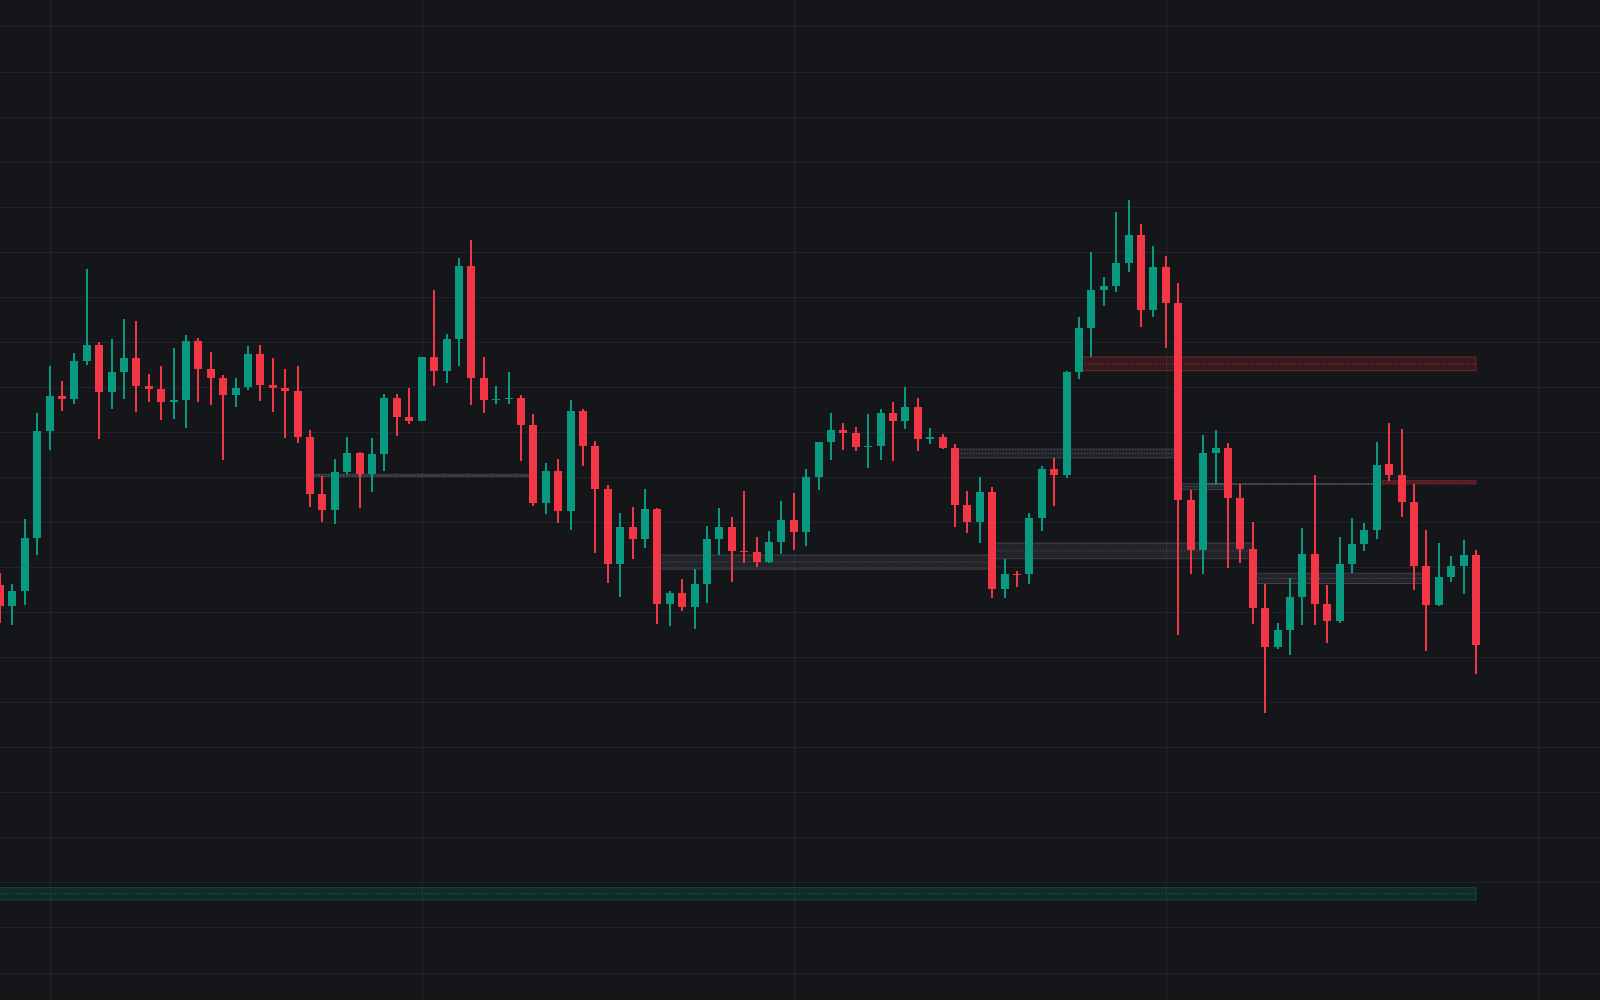

Balanced Price Range is the clean reference build of the balanced price range: it detects a three-candle fair value gap displacing back through a recent opposing gap and draws just the span where the two overlap (the slice delivered in both directions) as a zone with its midline. Bullish zones (a bearish gap overrun by a bullish one) are watched as support, bearish zones as resistance, and each zone extends until price breaks its far side.
How to Trade the Balanced Price Range?
- First retest: the initial return into a zone since formation is the watched event. Continuation toward the newer gap's side is the base case, and a dedicated alert fires per side.
- Entries inside the zone: the midline and the near edge are the usual staging points, with invalidation beyond the far side.
- Violated zones: a break through the far side recolors and freezes the zone. The earlier rejection reads as absorbed, and the level's role is done.
- Bias check: the newer gap always carries the direction; a bearish zone above price and a bullish zone below frame the range price is negotiating.
Balanced Price Range Settings
- Pairing Window (Bars) (default 10): maximum bars between the two opposing gaps; tighter windows demand the two displacements come in quick succession.
- Violation Trigger (default Close): Close requires a candle close beyond the far edge (the break-and-hold read), while Wick treats any trade beyond it as a violation.
- Show Last (default 20): zones kept on the chart, active and violated combined.
- Style: bullish/bearish colors, Zone Midline (default on, Dotted), and Show Violated Zones (default on) with its own color.
Frequently Asked Questions

Original indicatorBuilt in-house by LuxAlgo
The Library is free. Quant makes it yours.
Pull any concept or indicator into Quant: rebuild it, retune it, or turn it into a backtested strategy of your own.