Upthrust
 By LuxAlgoJun 8, 2026
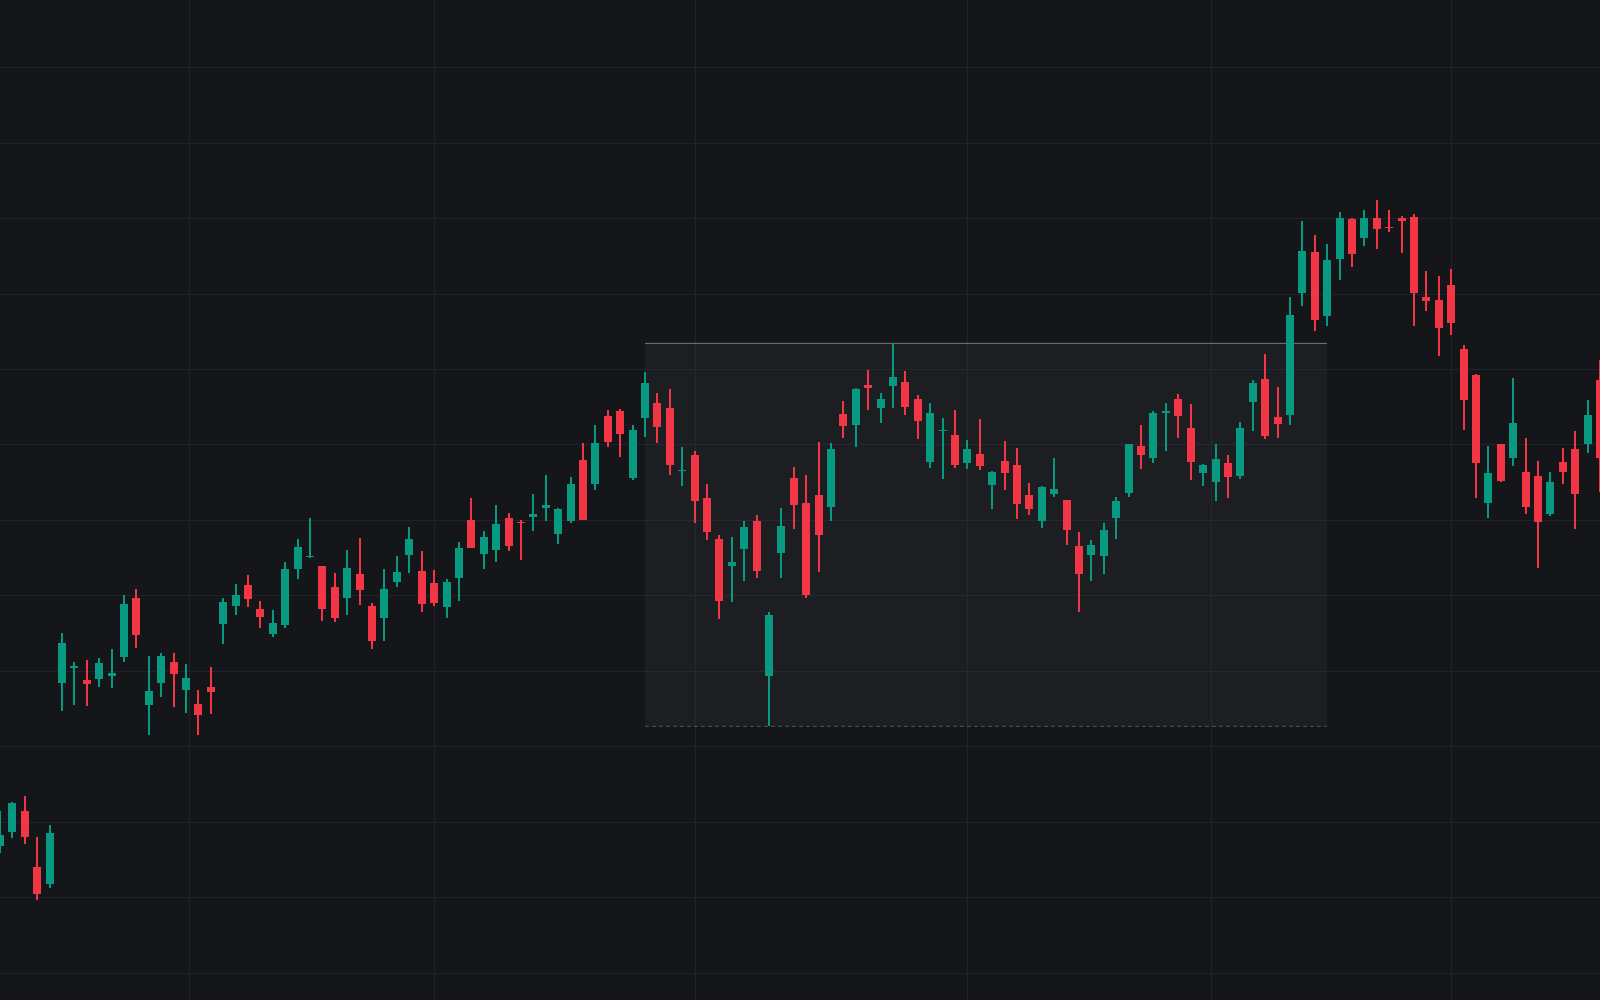

Upthrust frames mature trading ranges from clustered swing highs and flags pokes above resistance that close back inside, the bearish half of the Wyckoff range playbook. Each confirmed upthrust is labeled UT (UTAD when a later failure prints above the prior range high) with a tooltip grading penetration, effort, and reclaim speed.
How to Trade the Upthrust?
- UT label: breakout buyers are trapped; the shaded zone marks the failed excursion and the dashed upthrust-high line is the conventional stop reference.
- UTAD label: a failed final test of demand above the prior range high, the classical distribution tell.
- Test label: the first rally that dies under the upthrust high on fainter volume confirms the failure.
- Invalidation cross: price accepting back above the tracked upthrust high contradicts the read. An exit cue, not a level to defend.
Upthrust Settings
- Swing Length (default 10): bars each side confirming the swings that frame the range.
- Resistance Tolerance (ATR) (default 0.5): max distance between swing highs counting as tests of one resistance.
- ATR Length (default 14): normalizes tolerance, penetration, and grading.
- Minimum Range Maturity (Bars) (default 20): age a range needs before a poke can be labeled.
- Require Prior Uptrend (default enabled) with Uptrend Lookback (default 50): only frame ranges price advanced into; disable to include accumulation ranges.
- Minimum Penetration (ATR) (default 0): distance above resistance the excursion must reach; 0 accepts any poke.
- Acceptance Window (Bars) (default 3): closes beyond a boundary before price counts as accepted there.
- Volume Average Length (default 20) with High Effort Volume x (default 1.5) and No Demand Volume x (default 0.8): the effort baseline and its grading multiples.
- Style toggles (all default enabled): Range Boundaries, Upthrust Labels, Upthrust Zones, Upthrust High Line, Test Labels.
Frequently Asked Questions

Original indicatorBuilt in-house by LuxAlgo
The Library is free. Quant makes it yours.
Pull any concept or indicator into Quant: rebuild it, retune it, or turn it into a backtested strategy of your own.