Swing Trading: A Beginner’s Guide
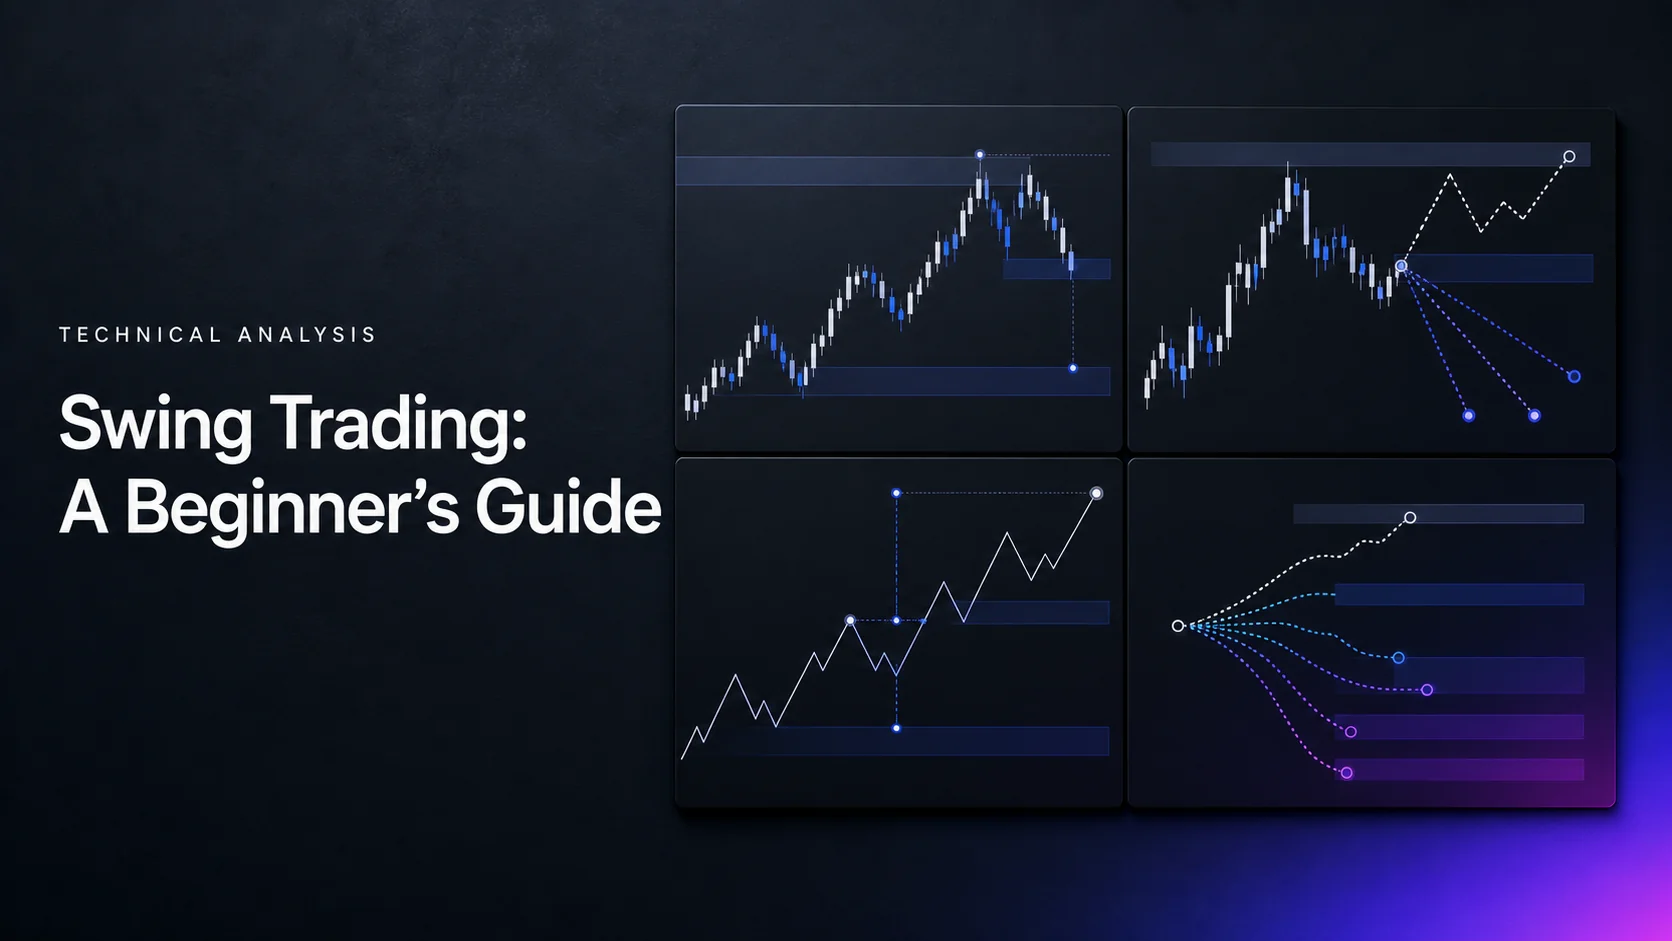
Swing trading seeks to capture price moves over days or weeks. It usually involves fewer decisions than an intraday strategy, but positions remain exposed to overnight news, weekend gaps and changing market conditions. A workable approach combines a defined setup, realistic position sizing, an exit plan and regular review—not a promise of easy part-time income.
Start with native LuxAlgo charts to study market structure and maintain a focused watchlist. Use Quant, our coding agent, to help turn explicit rules into a supported strategy, then inspect the code and run it manually. Your broker handles orders; chart analysis and a simulated backtest are separate from live execution.
How swing trading compares with other styles
| Style | Typical holding horizon | Main decision focus | Practical demands |
|---|---|---|---|
| Day trading | Within the same trading day. | Intraday entries and exits. | Monitoring depends on the strategy; frequent decisions and costs can matter. |
| Swing trading | Several days to weeks. | A defined portion of a trend, breakout or pullback. | Scheduled analysis plus position management; overnight and event risk remain. |
| Longer-term investing | Often months to years. | Business, valuation, allocation and longer-horizon objectives. | Research and periodic review; longer holding periods do not remove risk. |
There is no universal number of hours required. An end-of-day strategy can use a scheduled review, while an intraday entry method demands attention during the session. Choose rules you can actually follow. A plan requiring a five-minute trigger is unsuitable if you can only check prices after work.
Set up a practical research routine
Choose tools by their role
- Charts and research: use native LuxAlgo for supported charts, drawings and indicators. Keep a record of the symbol, exchange, session and timeframe.
- Watchlist: select a manageable group of instruments with sufficient liquidity for the proposed position. Review spreads, trading hours and relevant upcoming events.
- Execution: choose a broker based on market access, order types, costs and your requirements. Verify how orders behave outside regular hours.
- Practice: use historical testing to inspect many examples and forward simulation to rehearse decisions as information arrives. Neither reproduces every live fill or emotional pressure.
Use timeframes with a clear purpose
A weekly chart can supply broad context and a daily chart can define the setup. An hourly chart is optional for a more detailed entry. Adding a five-minute chart creates a different monitoring requirement and can encourage reacting to movement that is irrelevant to a multi-day plan. Record which timeframe controls the stop and which supplies the entry signal.
Use completed higher-timeframe bars when the rule depends on their final values. A daily moving average or volume reading changes while the day is still in progress. A signal observed midday must not be backtested as though the final daily close was already known.
Three foundations: trend, level and trigger
Define the trend
Higher swing highs and lows are a common way to describe an uptrend; lower highs and lows describe a downtrend. Sideways conditions have no clear directional sequence. If pivots require later bars for confirmation, account for that delay. A point marked on an old candle may only have become identifiable several bars afterward.
Moving averages provide another rule-based view. For example, price above a rising 50-day average is one possible trend filter. An 8-day EMA crossing above a 50-day EMA is a crossover event, not a universal declaration that an uptrend will continue. Specify the lookback and test it rather than switching definitions after a losing trade.
Mark a price area
Support and resistance are candidate areas where prior price behavior suggests a possible reaction. They are not solid floors or ceilings. A moving average can serve as a changing reference, but it does not force buyers or sellers to act. Decide how the area is constructed and how much penetration would invalidate the setup.
A prior resistance area can later act as support, and prior support can act as resistance, but this role change is not guaranteed. Buying every touch of support is a different strategy from waiting for a completed-bar rejection. Keep the location and the entry trigger separate.
Choose a breakout or pullback entry
- Breakout example: define resistance using information already available, require a completed close above it, and enter at the next permitted tradable price. Specify whether another entry is allowed after a failed attempt.
- Pullback example: require a previously defined uptrend, a retracement into a chosen area and a separate bullish trigger. A declining price reaching an average is only a candidate.
- Retest example: wait for price to revisit a broken level within a stated number of bars. This can miss moves that never return; a retest is not required for every breakout strategy.

Volume can be an additional filter if the instrument supplies appropriate data. For example, a completed daily volume reading greater than 1.5 times the average of the preceding 20 completed sessions is a testable rule. The 1.5 threshold is a chosen parameter, not mandatory confirmation. An intraday reading needs a time-of-day comparison; it is not directly comparable with a full-day average.
Understand the indicators you add
| Indicator | What it measures | How to interpret it carefully |
|---|---|---|
| Moving averages | A smoothed price series over a chosen number of bars. | A 20-day EMA, 50-day EMA or 200-day SMA is a reference, not a guaranteed barrier or entry. |
| RSI | Momentum on a scale from 0 to 100. | Common 30/70 thresholds are context-dependent; extremes can persist during strong trends. |
| MACD | The difference between fast and slow moving averages, with a smoothed signal line. | Crossovers and divergence describe changes in momentum; they can fail or arrive late. |
| VWAP | A volume-weighted average from a specified session or anchor. | It is not a direct measure of market sentiment; a session VWAP resets and may not match a multi-day thesis. |
Moving averages
For the same lookback, an EMA gives more weight to recent prices than an SMA. Faster response also means greater sensitivity to short-lived changes. Do not compare a short EMA with a much longer SMA and attribute the entire difference to the formula. State whether the strategy needs a crossing event, a close above the average or a rising average; these are different conditions.
RSI and MACD
A common RSI configuration uses 14 periods with 30 and 70 as reference levels. An RSI below 30 does not automatically mean a bargain, and a reading above 70 is not automatically a sell. A rule requiring RSI to cross back above 30 is also different from one that simply requires RSI to remain above 30.
With the conventional 12/26/9 EMA configuration, MACD is the 12-period EMA of price minus the 26-period EMA of price; the signal is a 9-period EMA of the MACD line. The histogram is MACD minus signal. A bullish signal-line crossing can occur while MACD is still below zero. Check the selected source, timeframe and moving-average types in the indicator settings.
Price making a lower low while an oscillator makes a higher low is a bullish divergence candidate. Specify the pivot rules and the time at which both lows were confirmed before testing it. Combining an average, RSI and MACD does not supply three independent proofs: all can be derived from the same prices. Compare the combined filter with a simpler baseline.
Size the position from the risk plan
First choose a loss budget appropriate to the account and portfolio, then select a technically meaningful invalidation point. A percentage such as 1% is an example assumption, not a rule that suits everyone. Position value, margin requirement and planned loss are different amounts.
Suppose a hypothetical $20,000 account sets a $200 total risk budget. Reserve $20 for estimated costs, leaving $180 for price movement. Entry at $50 and a stop at $48 create $2 of price risk per share, so the example position is 90 shares: $180 ÷ $2. Its value is $4,500. If the distance widens to $4 before entry, the same price-risk budget allows 45 shares.
A target at $54 offers $360 gross profit, or 2R relative to the $180 initial price risk. But if overnight news causes an exit at $45, the loss is $450 before costs. A stop order does not guarantee its stated price. Use the correct contract multiplier and minimum trade size for other instruments, and review leverage, financing and short-borrow costs where relevant.
Reward-to-risk is not profitability
Here, reward divided by initial price risk is 2; the same setup may be written as risk:reward of 1:2. A target does not tell you how often it will be reached. Under a simplified model of exact +2R wins and −1R losses, break-even is one-third wins before costs. A 25% win rate produces 0.25 × 2R − 0.75 × 1R = −0.25R per trade before costs.
Partial exits, gaps and trailing stops change the realized distribution. Selling half the 90 shares at $52 and half at $54 yields $270 gross, or 1.5R, rather than the full-target 2R. For a long trailing stop, define the update time and prevent the stop from moving downward unless the strategy explicitly permits added risk.
Plan for the whole portfolio
Several positions exposed to the same sector or market move can lose together. Five trades each carrying a nominal 1% budget do not become low-risk merely because each looks small. Review the combined exposure, scheduled earnings, economic announcements and weekend holdings. Define event rules before entering rather than deciding under pressure after a gap.
Build and test the rules in native LuxAlgo
Ask Quant to create a supported native strategy with the trend filter, price-area definition, completed-bar trigger, entry timing, stop, target and maximum holding period. Inspect the generated code, then run it manually. Confirm that entries shown on historical candles used only information available at the decision time.
- Review strategy Inputs and Properties, including capital, order size, commission and slippage. Check what happens when a bar contains both the stop and target.
- Compare breakout-only, pullback-only and any extra indicator filters over the same dates and cost assumptions. Hold out an unseen period before drawing conclusions.
- Check individual trades around earnings, gaps and session changes. Adjusted prices, data availability and unrealistic fills can materially affect a result.
- Use forward simulation to rehearse the workflow after historical testing. Keep simulated and live results clearly identified.
Generated code and an alert are not proof of a broker fill. A strategy that looks attractive in a historical summary still needs causal signals and realistic execution assumptions.
Keep a journal and a manageable routine
Record the planned setup, decision timestamp, entry, original stop, target, position size, event exposure and exit reason. Compare the plan with what actually happened. A profitable trade can still violate the process, while a correctly managed trade can lose. Review both instead of judging decisions solely by their outcomes.
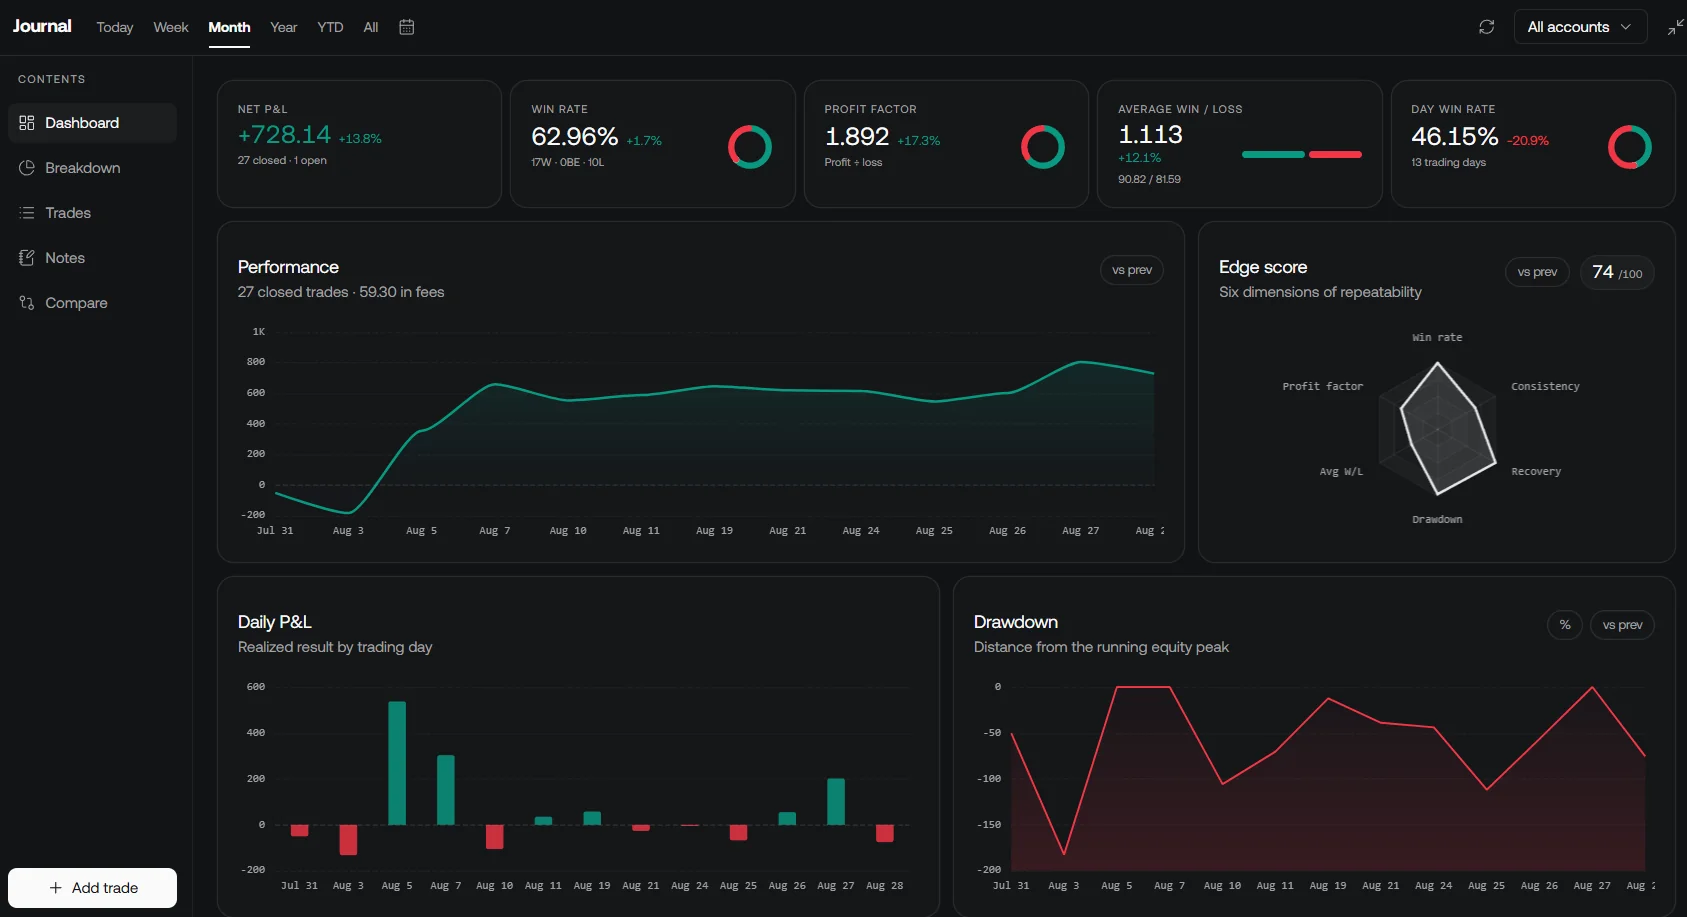
The native Journal supports recording fills, reviewing trades and keeping notes. Use a consistent account and date range when comparing results, and reconcile recorded fills with the underlying statements. Metrics are only as dependable as the data entered or imported.
- Before the session: review open risk, relevant news and scheduled events. Identify any order changes required by the written plan.
- At the decision time: evaluate only the setups your rules permit. If using daily closes, wait for the required completed data.
- After execution: record fills and any difference from the planned price or quantity.
- At a scheduled review: examine costs, drawdown, average outcomes, missed trades and rule deviations. Make changes through a documented test, not by repeatedly improvising during a trade.
Begin with a small number of clearly defined setups and enough practice to understand their failure modes. The goal of a clean chart is to make decisions easier to explain and repeat; there is no magic maximum of two or three indicators and no fixed daily time commitment that guarantees success.
Video: a swing-trading guide
This recorded lesson discusses swing-trading concepts and examples. Use it alongside the explicit risk, timing and testing rules above; any illustrated trade is not a promise of future performance.
Frequently asked questions
How long does a swing trade last?
Typically several days to weeks, but the exit should follow the strategy’s price, risk or time rule. A holding-period label is not a reason to keep a failed setup open.
Can swing trading fit around a job?
Sometimes, if the strategy’s decision times match your availability. An end-of-day method has different monitoring needs from an intraday trigger, and overnight positions still require a risk plan.
Does a 2:1 reward-to-risk target guarantee profit?
No. Profitability also depends on the frequency and size of actual wins and losses, execution costs and gaps. Under exact +2R wins and −1R losses, break-even is one-third wins before costs.
Should I buy whenever RSI falls below 30?
No. RSI can remain low during a strong decline. Define trend context, a separate entry condition and an invalidation rule rather than treating the threshold as an automatic buy.
How is position size calculated?
Divide the price-risk budget by the entry-to-stop distance, adjusting for contract multipliers and trade increments. Reserve for costs and remember that gaps can make the actual loss larger.
How can I research a swing strategy with Quant?
Specify the trend, setup, trigger, position sizing and exits. Inspect the generated code and run it manually on supported native charts. Review causal signals, costs and unseen periods before relying on the results.
References
- Charles Schwab — What Is Swing Trading and How Does It Work?; holding horizons, overnight gaps, setup planning and hypothetical flag illustration.
- TradingView — MACD indicator; oscillator, signal line and configurable settings.
- LuxAlgo — Native charts and chart data; symbols, sessions, timeframes and data scope.
- LuxAlgo — Making strategies and native strategy settings; code review, manual execution and testing assumptions.
- LuxAlgo — Journal overview; fills, notes, trade review and dashboard illustration.
- The Ultimate Swing Trading Guide — video; recorded educational lesson.
Read next