Level Freshness & Decay
 By LuxAlgoFeb 20, 2026
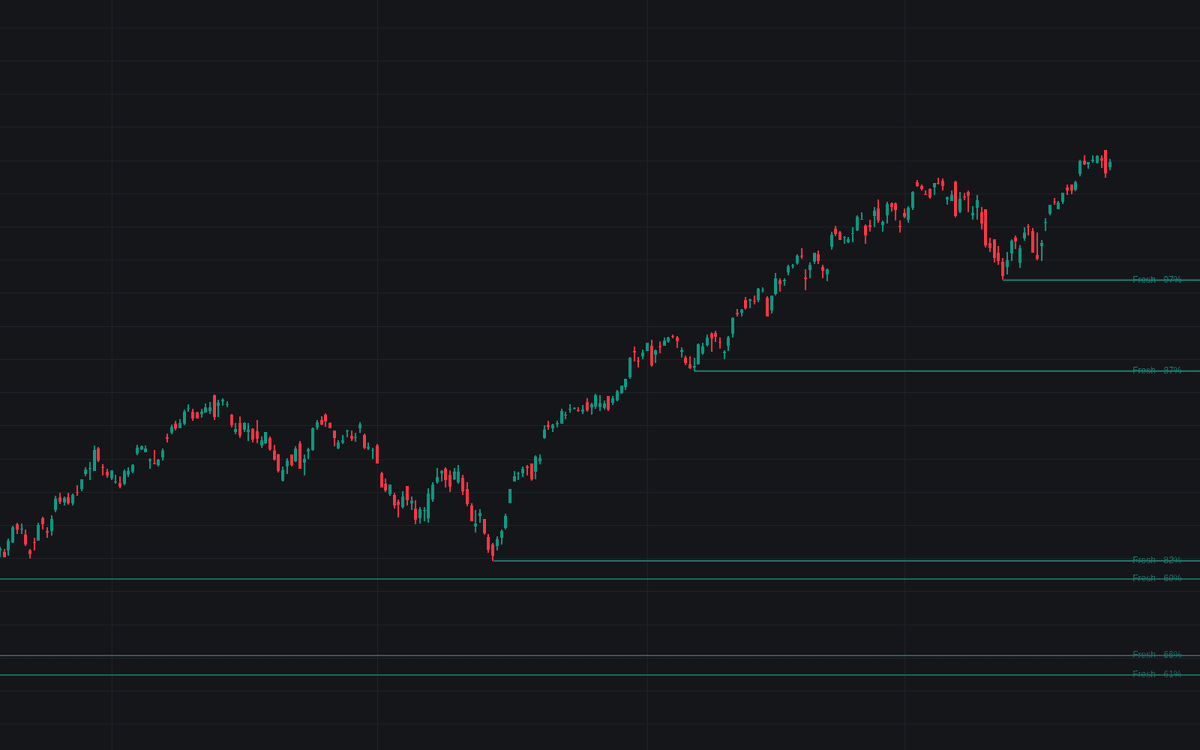

Level Freshness & Decay turns level freshness and decay into live bookkeeping: each confirmed swing births a support or resistance level recorded as zero-touch, carrying a freshness score that starts at 100% and is spent by tests and elapsed time. Lines fade toward gray as the score drops, labels report state and score, and levels leave the map as spent or decisively broken.
How to Trade the Level Freshness & Decay?
- Fresh, zero-touch level: still holds the resting interest that created it - the priority candidate; its first test fires an alert.
- Heavily tested level near the spent threshold: a failure watch, not a bounce candidate.
- Graded touches: a deep penetration with a weak rejection spends up to 1.5x the base decay; a quick probe rejected hard spends as little as 0.5x.
The result: a self-pruning map inside the levels family where only structure that still matters stays bright.
Level Freshness & Decay Settings
- Swing Length (default 14): bars a swing must dominate on each side.
- Maximum Levels per Side (default 6): oldest dropped when full.
- Touch Rule (default Wick Into Zone): a wick into the zone, or only a close inside it.
- Zone Width (ATR) (default 0.25): half-width in ATR(200) multiples.
- Minimum Bars Between Touches (default 5): so one consolidation is not five tests.
- Break Acceptance (Closes) (default 2): closes beyond the zone that delete a level.
- Decay per Touch % (default 30): score an average test spends.
- Grade Touch Quality (default on) with Reaction Window (Bars) (default 5): weighs tests by penetration and rejection.
- Time Half-Life (Bars) (default 500): time decay; 0 disables.
- Spent Threshold % (default 20) and Maximum Touches (default 0 = off): retirement rules.
- Level Labels (default on) and Spent Levels (default Fade Out): display options.
Frequently Asked Questions

Original indicatorBuilt in-house by LuxAlgo
The Library is free. Quant makes it yours.
Pull any concept or indicator into Quant: rebuild it, retune it, or turn it into a backtested strategy of your own.