Effort vs Result
 By LuxAlgoMar 16, 2026
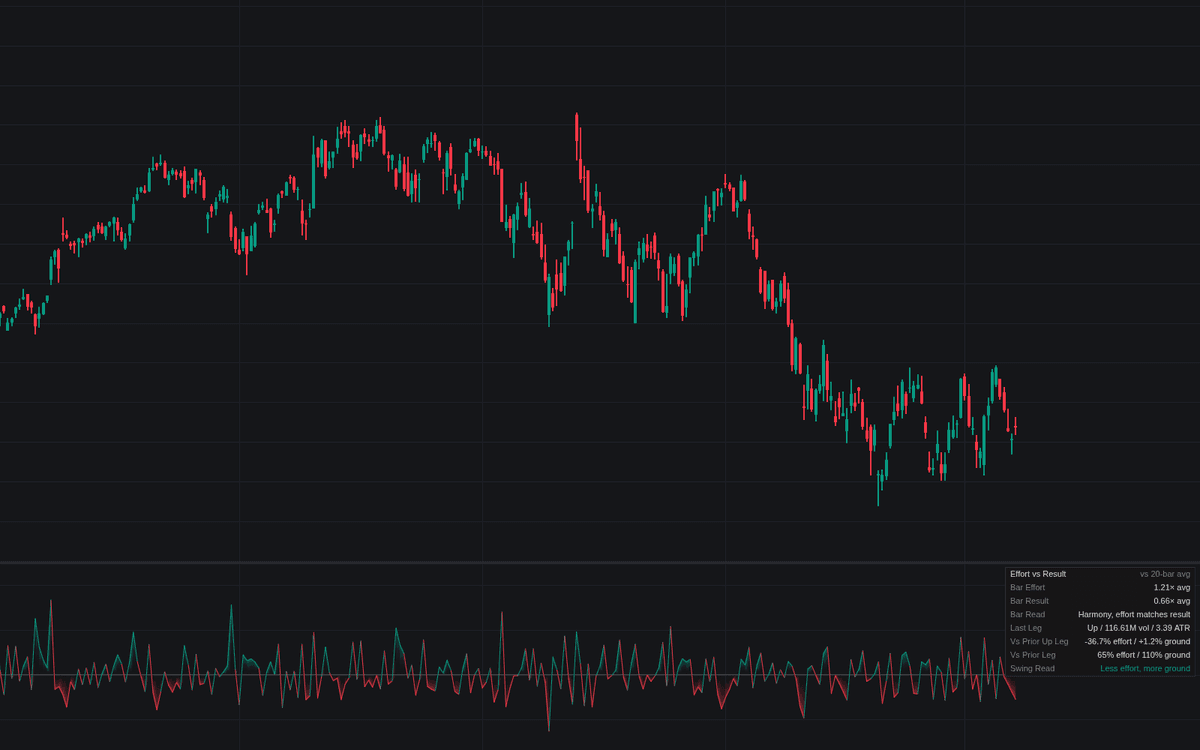

Effort vs Result asks of every bar whether the volume spent bought commensurate price movement. Effort is volume against its 20-bar average, result the bar's movement against its own; their balance plots around a harmony baseline: negative when heavy effort goes unrewarded, positive when price travels with little behind it. It instruments the Wyckoff law of effort vs result at bar and swing-leg scale, and requires a symbol that reports volume.
How to Trade the Effort vs Result?
- Diamond flags: effort without result (volume at least 1.5× average, movement at or below 0.5×), the absorption warning, on the side the bar was heading.
- Circle flags: result without effort: unusual ground covered on thin volume, ease of movement that may prove fragile.
- Balance color: stretches below zero show effort being absorbed; above zero, price moving easily.
- Swing Read: a leg that needed more volume for less ground than the prior leg in the same direction flags exhaustion, alertable both ways.
Verdicts need location, as everywhere in the Wyckoff family: heavy effort with no result at a tested level is a finding; the same print mid-range is noise.
Effort vs Result Settings
- Normalization Length (default 20): the window defining what counts as average.
- Result Basis (default Range + Net Progress): what counts as result: true range, close-to-close progress, or their average.
- High Threshold (default 1.5) / Low Threshold (default 0.5): multiples of average marking high and lacking readings.
- Flag Effort/Result Divergences (default enabled): the on-chart diamond and circle marks.
- Swing Detection Length (default 5): pivot length defining the swing legs.
- Show Dashboard (default enabled); an off-by-default style toggle plots the normalized Effort and Result components.
Frequently Asked Questions

Original indicatorBuilt in-house by LuxAlgo
The Library is free. Quant makes it yours.
Pull any concept or indicator into Quant: rebuild it, retune it, or turn it into a backtested strategy of your own.