Bullish/bearish Order Block
An order block is the last candle that closed against a move before the move took off. It is a Smart Money Concepts / ICT concept. The Library holds 12 implementations, each one ready to run on Vela.
Top Bullish/bearish Order Block indicators
The top custom implementations, built on the original standard Bullish/bearish Order Block formula.
12 total
Want to trade Bullish/bearish Order Block? Put the top implementation below on a live chart in Vela, and Quant will help you build a strategy on it and backtest it.
What is an Order Block?
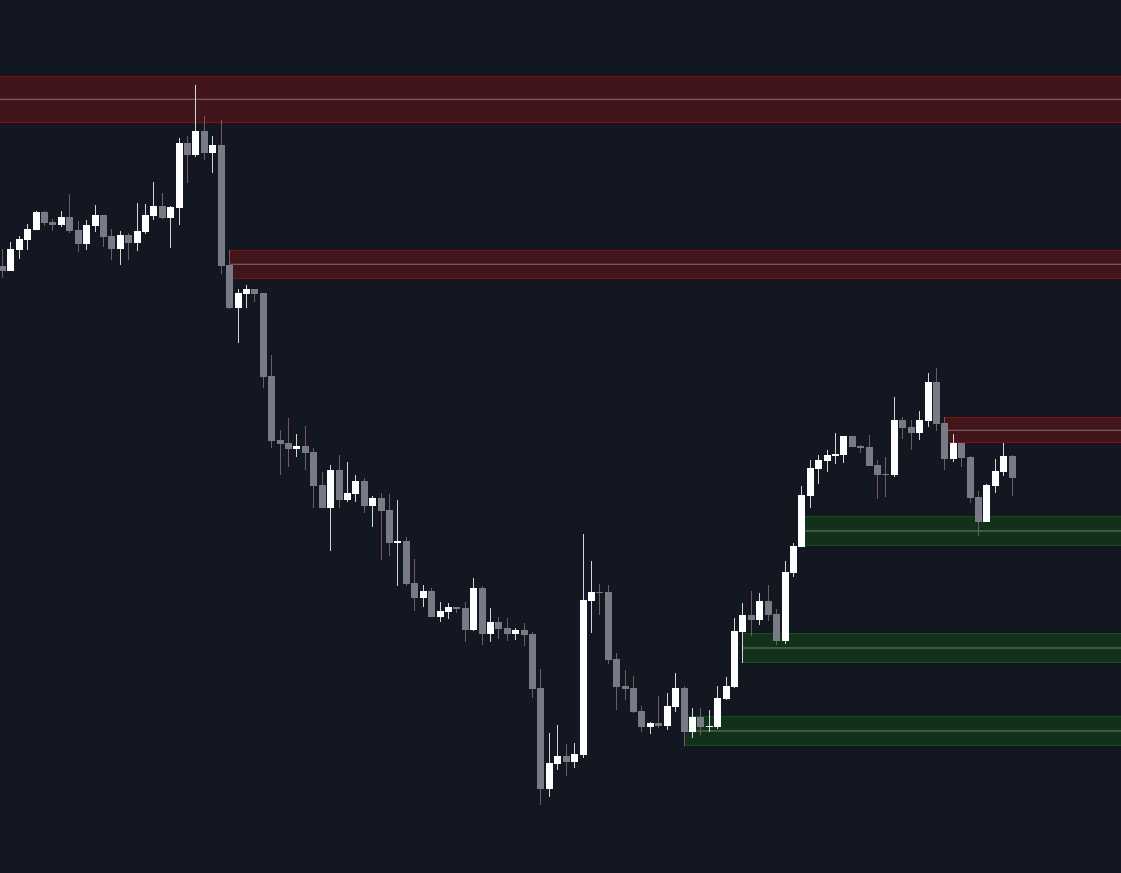
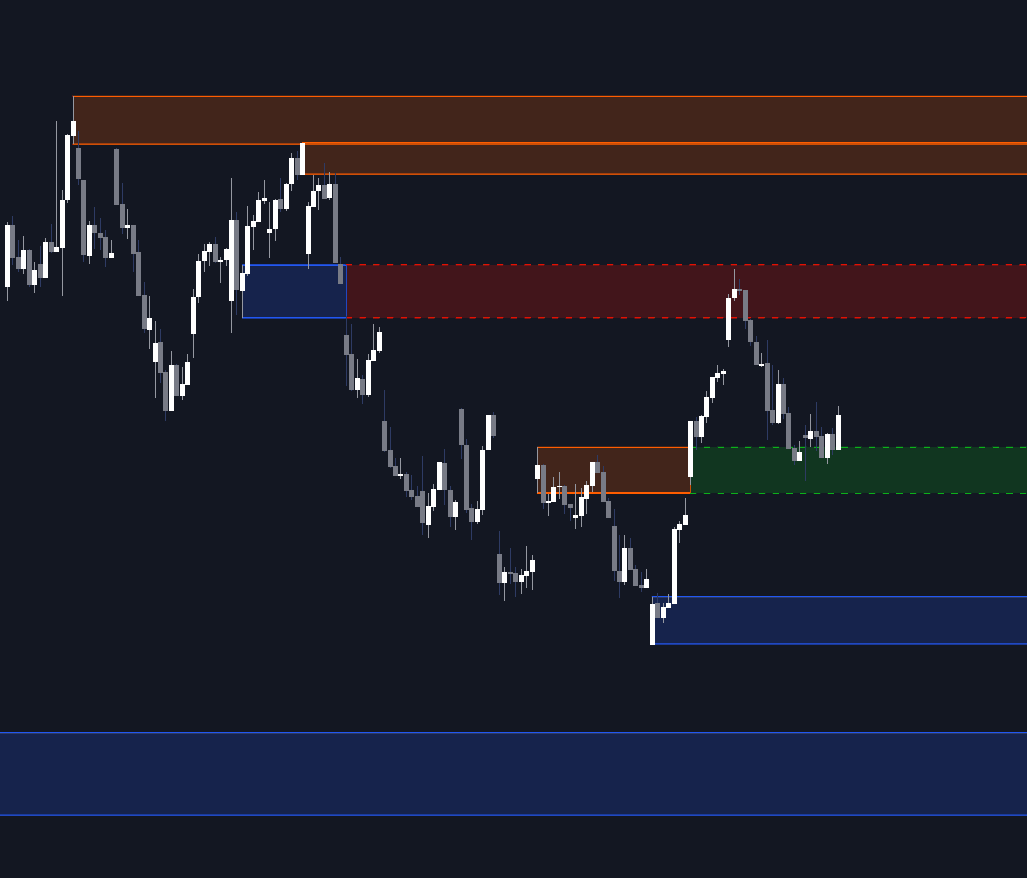
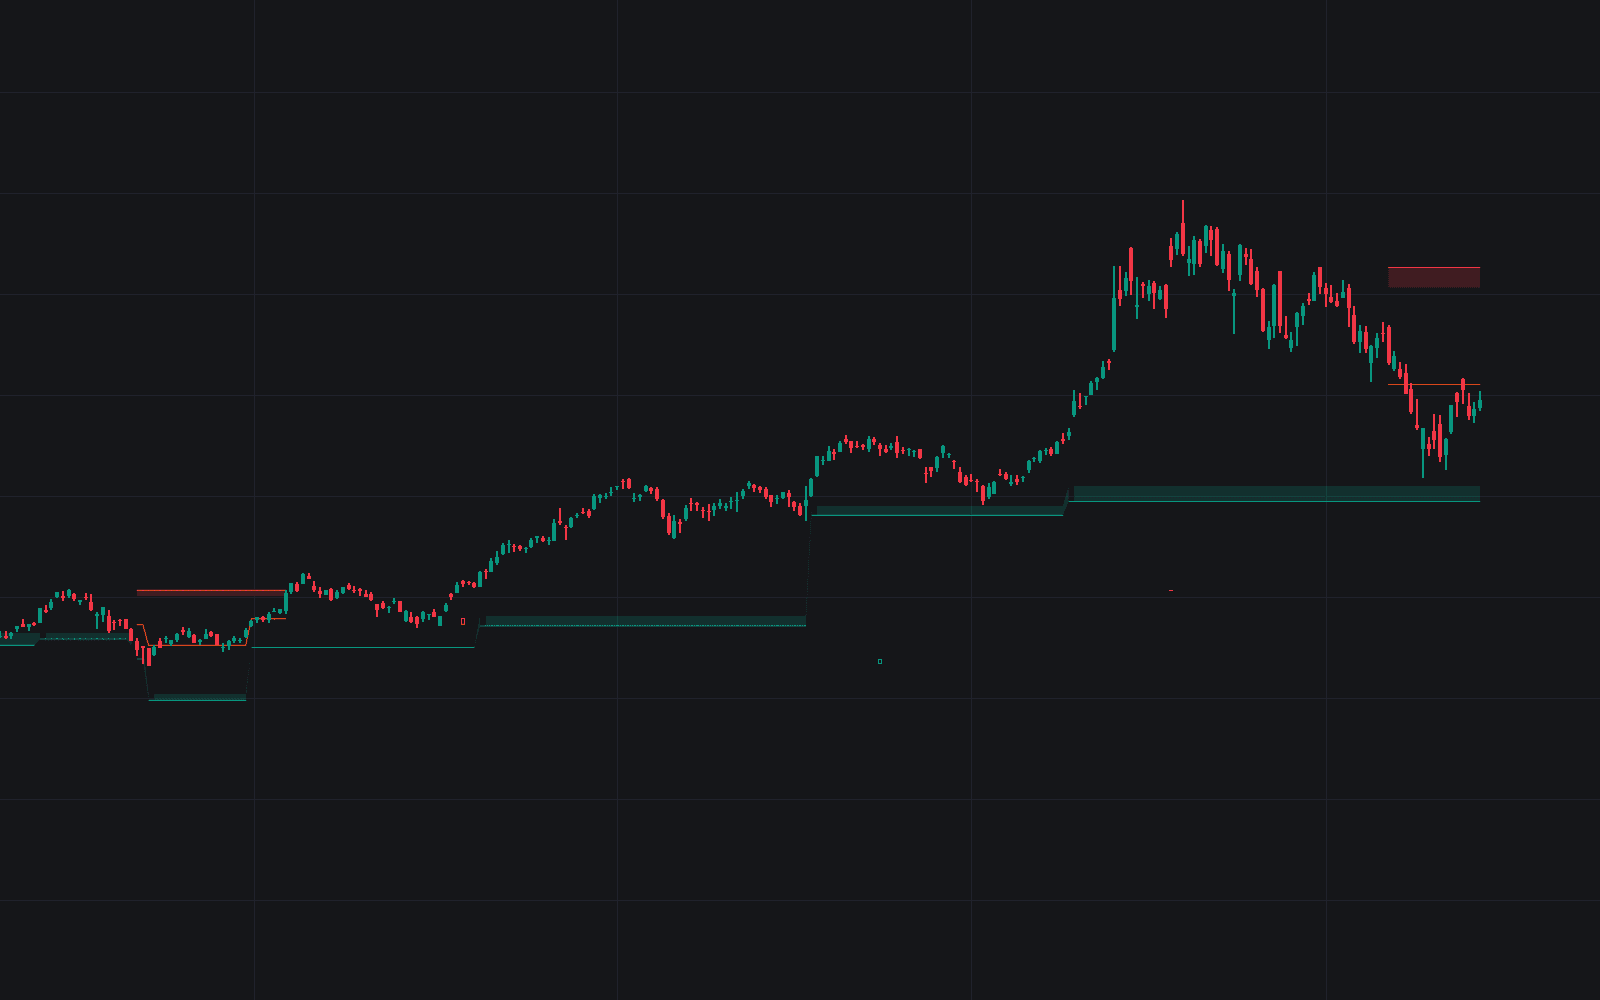
An order block is the last candle that closed against a move before the move took off. The final down-closing candle (or consecutive group of them) before an impulsive rally is a bullish order block; the final up-closing candle before an impulsive decline is a bearish one. Smart Money Concepts / ICT traders read that candle as the footprint of position-building: the place where large orders were absorbed just before price was driven away, leaving a zone that may be defended if price returns.
The candle alone is not the concept. What follows it is. A candidate only earns the label when the move away shows displacement: speed and range that produce a break of structure or trade through a prior swing, ideally leaving a fair value gap behind. Many traders grade a block higher when its candle first ran a nearby low or high, a liquidity sweep into the zone before the reversal out of it.
Order blocks matter because they turn support and resistance into something testable: a precise origin for the move, a defined invalidation beyond the far edge of the zone, and a repeatable entry logic on the return. They also fail routinely (price trades straight through plenty of them), so the block is the start of a checklist, not the end of one.
How to identify a bullish or bearish order block
Work backward from the move that validates the block, not forward from a promising-looking candle.
- 1Find the displacement first. Look for an impulsive, one-directional leg that breaks a structural level or trades through a prior swing high or low. No displacement means no order block, whatever the candle looks like.
- 2Step back to the last opposite candle. The final down-closing candle before a bullish leg (or up-closing candle before a bearish leg) is the block; a run of consecutive opposite candles can be boxed as a single zone.
- 3Grade the context. Stronger blocks sweep a nearby high or low just before the move, leave a fair value gap in the leg away, and sit on the sensible side of the current range (bullish blocks in discount, bearish in premium), in agreement with higher-timeframe structure.
- 4Mark the zone and define failure in advance. Draw the candle's full high-to-low range (or refine to the body or its 50% mean threshold), and treat a decisive close through the entire zone as invalidation.
How traders use it
- As an entry on the return: once displacement confirms the block, price trading back into the zone (often called mitigation) is the cue to look for a reaction, with the stop beyond the far edge. Because many blocks get run straight through, models commonly also demand a lower-timeframe change of character inside the zone before committing.
- As a zone to refine: a higher-timeframe block can span an unusable range, so traders isolate the body, the 50% mean threshold, or a nested gap within it; the conventions and trade-offs are covered under order block anatomy & refinement.
- As a bias filter: candidate blocks are everywhere, so most get discarded. Keep the ones aligned with the structure you are trading and positioned on the right side of the range, and leave counter-trend blocks alone unless structure shifts first.
- As failure information: a block that breaks cleanly is not noise. The same zone approached from the other side is then read as a candidate breaker block in the new direction, and a string of failed blocks on one side is an early tell that the displacement behind them is no longer being defended.
Order block vs neighboring concepts
Breaker Block: A breaker is an order block after it fails: price traded through the zone and the retest arrives from the opposite side. Order blocks are traded with the original displacement; breakers are traded with the break that destroyed them.
Supply & Demand Zones: The same core observation (price left a base impulsively) without the SMC rulebook. Supply and demand marks broader zones by looser conventions; an order block is the stricter candle-level version, usually required to come with displacement, a structure break, or a sweep.
Fair Value Gap: The gap is the imbalance inside the move; the order block is the candle the move launched from. The two often stack into one setup, but an FVG is the span price crossed in a single fast pass (left open between the first and third candles' ranges), while a block is a fully traded candle range.
Rejection Block: Built from the wick at a swing extreme rather than the body of the last opposite candle. A rejection block marks a rejected high or low after a liquidity run; an order block marks the origin of the displacement itself.
More Bullish/bearish Order Block implementations
Bullish/bearish Order Block FAQ
Turn Bullish/bearish Order Block into a trading strategy.
Open the top implementation from this page in Vela. Quant, our coding agent, builds the strategy with you and backtests it on real data.
Browse this familySmart Money Concepts / ICT55 concepts mapped · 55 in the Library
- Accumulation-manipulation-distribution
- Balanced Price Range
- Breaker Block
- Bullish/bearish Order Block
- Buy-side Liquidity
- Candle Range Theory
- Change in State of Delivery
- Consequent Encroachment
- Displacement
- Draw on Liquidity
- Equal Highs/lows As Liquidity
- Fair Value Gap
- FVG Behavior Rules
- ICT Macros
- ICT Session Ranges
- ICT Time Anchors
- Immediate Rebalance
- Implied FVG
- Inducement
- Institutional Order Flow
- Internal vs External Range Liquidity
- Inversion FVG
- IPDA & Price Delivery Theory
- Judas Swing
- Killzones
- Liquidity Pool
- Liquidity Sweep
- Low-resistance vs High-resistance Liquidity Runs
- Market Maker Models
- Mitigation Block
- Model 2022
- New Day Opening Gap
- New Week Opening Gap
- One-shot-one-kill
- Opening Gap
- Optimal Trade Entry
- Order Block Anatomy & Refinement
- PD Arrays
- Premium & Discount
- Propulsion Block
- Quarterly Theory
- Reclaimed Order Block
- Rejection Block
- Seek & Destroy Profile
- Sell-side Liquidity
- Session & Weekly Profiles
- Session Liquidity
- Silver Bullet
- Smart Money Concepts
- Smart Money Reversal
- Smart Money Technique Divergence
- Standard-deviation Projections
- Trendline Liquidity
- Unicorn
- Volume Imbalance