Concept
Pin Bar
Pin Bar is a Chart & Candlestick Patterns concept. The Library holds 1 implementation, a working definition you can pull into Quant.
Top Pin Bar indicator
The top custom implementation, built on the original standard Pin Bar formula.
1 total
From studying Pin Bar to trading it: take the implementation below into Quant and backtest it instantly.
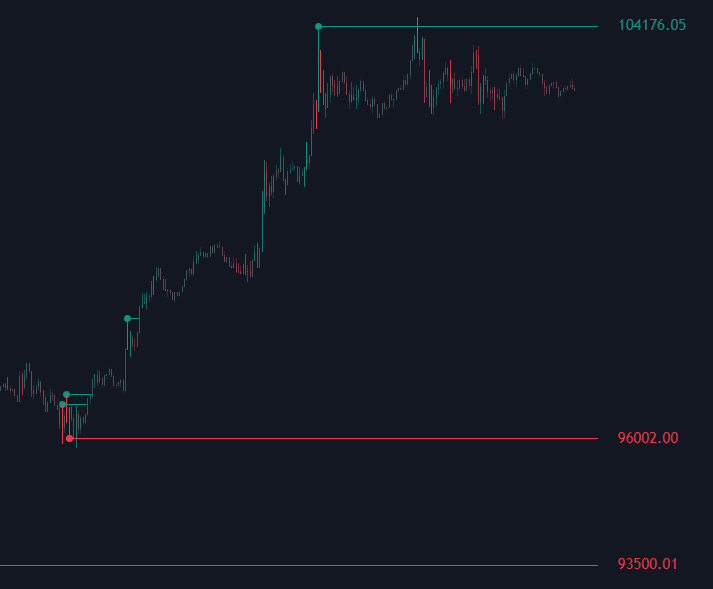
What is a Pin Bar?
A pin bar is a single bar with a long tail on one side and a small real body pushed toward the opposite end of the range. The geometry records rejection: price probed one direction during the bar, found no acceptance there, and closed back near where it started or beyond. A bullish pin bar carries a long lower tail with the body near the high, meaning lower prices were auctioned and refused; the bearish version is the mirror image at the top. The name is short for 'Pinocchio bar', Martin Pring's coinage: the long nose points toward the move the market told a lie about.
Common definitions ask the tail to dominate the bar, often around two-thirds of the total range or more, with the body confined to the opposite end. Many add that the tail should protrude beyond the surrounding bars, briefly poking through a nearby level or prior swing high or low before closing back inside. That clause is what gives the pattern its logic: a good pin bar is a small false breakout compressed into one bar. Location does most of the work. The same shape in the middle of a range is routine noise, and even well-placed pin bars fail regularly, which is why most plans pair them with a level and a confirmation rule.
How to identify a Pin Bar
Definitions vary slightly by author, but the checks are consistent.
- 1Measure the tail: one shadow should dominate the bar, commonly around two-thirds of the total range or more, with the real body small and pushed to the opposite end.
- 2Check protrusion: the tail should stick out beyond the adjacent bars or through a nearby level, so the bar visibly probed and rejected territory the market had not accepted.
- 3Grade the location: a pin bar rejecting a support level, a prior swing point, or a rising average is a setup; the identical bar mid-range is not.
- 4Define the trigger and invalidation up front: a common entry is a break of the nose-side extreme (the high of a bullish pin bar), with the stop beyond the tail.
How traders use it
- As a reversal trigger at levels: a bullish pin bar rejecting support is traded long on a break of its high with the stop beyond the tail, and the mirror applies at resistance.
- As a continuation entry inside trends: a counter-trend pin bar completing a pullback to a rising moving average or trendline is one of the classic with-trend price action setups.
- As a liquidity read: a tail that spears through a prior low and closes back above it is, in order-flow terms, a liquidity sweep left as a wick, which is why pin bars and sweep-based models often flag the same bar.
- As a stop-placement anchor: the tail's extreme is the natural invalidation point, since a return through it means the rejection did not hold.
Pin Bar vs similar patterns
Hammer: At a low, a bullish pin bar and a hammer describe the same geometry. Hammer is the Japanese candlestick term with its own conventions (a preceding decline, body in the upper part of the range); pin bar is the western, direction-agnostic term covering both tops and bottoms.
Shooting Star: A shooting star is effectively the bearish pin bar at the top of an advance: long upper shadow, small body near the low. The candlestick definition ties it to an uptrend, while a bearish pin bar is defined by geometry plus whatever level it rejects.
Swing Failure Pattern: An SFP is defined relative to a prior swing extreme: take it out, then close back inside. A pin bar is defined by single-bar shape. A pin bar whose tail runs a prior swing point usually qualifies as both, but an SFP can also play out across several ordinary bars.
Concept family
Chart & Candlestick Patterns
84 concepts mapped · 84 in the Library
Pin Bar FAQ
Turn Pin Bar into a trading strategy.
Take the implementation from this page into Quant, then build on it, backtest it on real data, and keep refining it in conversation.